Pre-K Blog

About Me

My photo
Little Wonders is a wonderful learning center located right here in Missouri City. This is where talent, imagination and professional skills are being dedicated to the teaching of our young children. We understand that children learn differently. Through observation and listening, we encourage each individual's unique learning styles; while focusing on their physical, educational and emotional needs. All of our teachers are professionally qualified with combined expertise in education, speech & hearing therapy, bilingual education and English as a Second Language. With a low student-teacher ratio, we provide your child with the attention they need. Little Wonders Learning Center is located at the corner of Lexington Blvd. and Dulles Ave. In this center, you will find a number of warm, loving teachers committed to putting children first. This isn't your ordinary day care facility.

Wednesday, October 27, 2010

We Have Light!

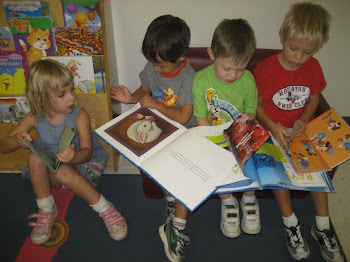
We have been patiently waiting for the children to revisit the project of the light in the house!  For those of you who forgot, here is the link to the project we started last month.....

Children are ready to learn when the right, best, or most appropriate opportunity is offered.  They are more likely to be motivated to learn when they are interested, which is why we waited so long to provide the children with this science experiment.
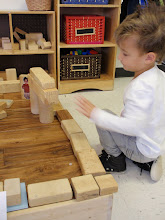
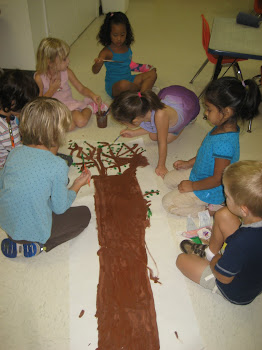
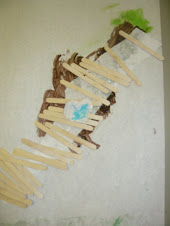
The perfect opportunity arose when the children wanted to make the house, a "Haunted House"!  So we started making pumpkins, ghosts and witches for it.  Then, Alexnadre said, "But it is still dark inside!"

Bingo!!!!!  What the teachers have been waiting for!  We pulled back out a battery, light and a piece of foil.  We asked, "Well, we have the these things, how does the battery help the light turn on?"

Trevor said:  "Inside the battery is something good, it is good for lights.  We have energy, but a battery has energy too."  "This is a big battery so it has enough energy because this light is little."  "This battery has a lot of energy."

The teacher asked, "Well what do we use this (the foil) for?"

Alexandre said:  "Well, you can use it for a wire, like other wires.  It is kinda like plastic.  It is not really plastic, but it kind of feels like plastic"

Trevor said:  "Well, we can pretend it is a wire, because we are pretending the house is really a house, and it is just a box."

Ricky said:  "We can pretend the battery is at the end all the way to the light and the light turns on."

Trevor said:  "It does look like plastic, but it is so big, bigger than a wire.  It is so big it can move the energy to the light."
So, we placed the battery on the "plastic wire" (foil), put the light on it, and touched the "plastic wire" (foil) back onto the light and what do you know.......

WE HAVE LIGHT!!!!!!!!!!!!
Trevor jumped up and down and screamed with joy!  He yelled, "I was right, I was right!"  This is why it is so rewarding to allow the children to learn through investigation!  This discovery was lead by the children and it will really stick with them. 

Later, while we were having snack, Trevor stood up in front of everyone and described the whole process of how we turned on the light with the energy from the battery. 
Trevor's presentation of his idea and discovery helped reinforce his new knowledge, which in turn allows
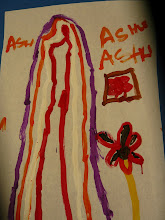
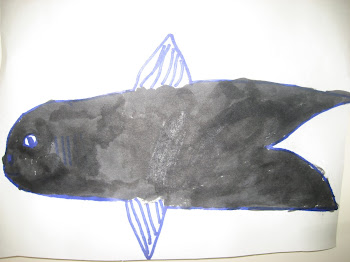
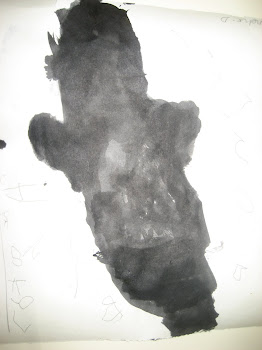
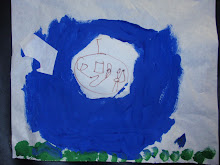
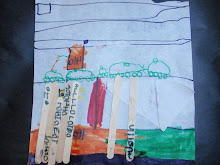
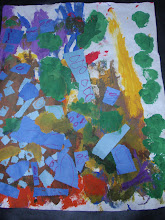
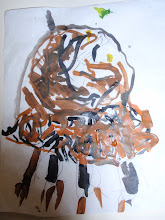
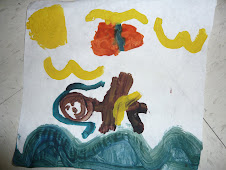
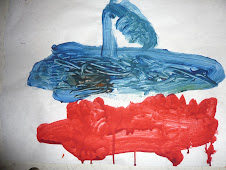
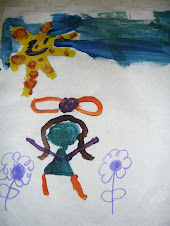
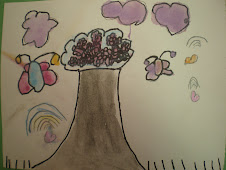
for the formation of new questions and predictions.  (ex:  Is foil plastic? Will the same battery work for a larger light?  How do switches and buttons help to turn lights on and off?)

We asked the children who were involved in turning the light on do draw "How We Turned The Light On" and this also helped to reinforce their new knowledge and strengthen their ability to communicate it to others.

Look at their awesome work!.................


We will have our Haunted House on display at the Fall Festival, please feel free to have your child explain to you how it works and show you how to turn the light on!  And stay tuned for our future experiments on emerging this project!  We are so excited because this can continue in so many wonderful directions!

Wednesday, October 20, 2010

Current Projects

MMMMMMMMMMMMMMMmmmmmm
Thanks to Alexandre, we made this tasty Pumpkin Bread!  We all helped make it and better yet, we all helped eat it!  It was delicious!We have made 3 fall recipes so far - Pumpkin Soup, Pumpkin Bread, and Pumpkin Seeds!  I think we are on our way to Pumpkin Pie ;0)
Don't be surprised if you see some of these children on the Food Network in the future!!!!

We are wrapping up our costumes, and boy do we look amazing when we put them on!  Look at one of our great white sharks below!!!  He knew exactly where he wanted each one of his fins to go;0)

One GREAT project that has stemmed from our fall festival project is EMOTIONS!  One of the children made a pumpkin and the kids started talking about how it had a happy face.  This initiated a wonderful conversation about the different emotions we have and what our faces look like when we have them.  We read books on our emotions and had so much fun pretending to be mad, happy, sad, scared, etc...

This started our pumpkin patches of different emotions!  We are all working together on pumpkins that represent the different emotions and putting them in pumpkin patches together.   Below is our "Happy Pumpkin Patch"!  We have a "Sad Pumpkin Patch" and now we are working on a "Mad Pumpkin Patch".

The children have taken pictures of their faces to show us what we look like when we are.......

ANGRY

SAD


HAPPY
And so many more!  Take a look in our room and you will find more of our pictures.  We are using them to study our facial features, to see what they do when we make the different faces.  We are tracing our features with markers and drawing our self portraits......
We are really using all of the pumpkins to practice counting and number how many we are making.......
Stay tuned to see what else evolves from these projects.  

Thursday, October 14, 2010

A Steam Engine Train

It is unanimous, our Fall Festival Train is a steam engine train!  Now all we need to figure out is how to make our train look like steam is coming out of it just like this picture.  We talked for a LONG time, and we heard suggestions like, "grey legos", "play dough", "paper", and then Trevor put his finger up to his head and said, "DING!!!  I got it!  STUFFING!!!" 

 What a great idea, right?
Luckily we had a bag of stuffing in our room and the boys had so much fun stuffing the engine with "steam".......
They all worked together to glue tissue paper around it to make it look like the book.  They found a bell to put on the train as well, and now all we have to do is figure out where the steam should go on the train.

As the boys were finishing up, one of them said, "It is like smoke!"  We started to have a great conversation about the difference between smoke and steam.....
steam vs smoke

We talked about how smoke comes from fire, and steam comes from hot water.  We also talked about how clouds are made from water and the steam coming out of the train looks like a cloud.  The steam is white and the smoke is grey and black. 

This was a great scientific discussion that stemmed out of this project!  Let's see what else comes out of this train project.

Tuesday, October 12, 2010

the well

the last day at the village the team assembled the pump for the well. the village will be celebrating their new well for weeks to come & they started the huge celebration right after the pump was installed for all the team's hard work. the people of the village were so thankful that they planned a wonderful celebration with music, gifts & families from the village made speech's about how wonderful the team was & everything they accomplished for their people. the village built a palm alter around the well before the team got their that morning to surprise them & thank goodness they didn't have to tear it down to build the pump because as you can see it is beautiful. all the children were trying to peek through the palms as the team was finishing the well to see what it looked like, everyone was very excited. after the ribbon cutting one of the older women of the village couldn't wait to be the first to taste the clean water. what an amazing experience to be a part of, something that i know paul will never forget & he's so thankful that he got to be a part of it!!!
final & hardest step of building the pump for the well

finishing the pump/well

the AMAZING team

the palm alter that was built around the well by the people of the village

trying to sneek a peak at the well

the ribbon cutting ceramony

young pumping water for the elder

the first taste of clean water

drilling a well for water


the type of well they built in guatemala was an unconsolidated or sand wells they are drilled into a formation consisting of soil, sand, gravel or clay material that collapses upon itself. a well is composed of many components; the following is a list of the most important materials used:
casing is used to maintain an open access in the earth while not allowing any entrance or leakage into the well from the surrounding formations. The most popular materials used for casing are black steel, galvanized steel, PVC pipe and concrete pipe.
screen keeps sand and gravel out of the well while allowing groundwater and water from formations to enter into the well. Screen is available in many materials, the most popular being stainless steel and slotted PVC pipe. Screen is used when wells are drilled into unconsolidated materials.
gravel pack is placed around the outside of the screen to prevent sand from entering the well or clogging the screen and to stabilize the well assembly.

here's some pictures of the drilling process through 4 days, we have over 1,500 pictures...we thought that might be to many to look at so here's a few. again if you'd like to help with the water crisis please visit http://www.water.cc/

learning how to work the drill

preparing mud pits


making mud


paul working the drill...look out

now that's a wrench

adding steel pipe as we dig deeper and deeper

lowering the PVC pipe into hole, that's not an easy task

as you add more pipe, the task gets even harder

now that we reach the bottom, we must saw the remaining pipe

emptying the mud pits

standing in the mud pits

WE HAVE WATER!!!

ahhh...refreshing clean water

jaime & manolo (team leaders) proud of the work that was accomplished


here is the well topped off. they drilled 145 feet deep. they're getting ready to pour the cement base.


finishing base
testing the water

water specimens

all the different layers of the earth they went through in 5 ft increments per bag